


Cloneable tags
Description
The Clip Path Swiper.js Slider Interaction is a creative solution for adding transition animations to a full screen slider. This technique combines the use of Swiper.js and a GSAP animation script to create a dynamic and interactive experience for users. This Webflow cloneable, created by WebDevForYou, falls under the categories of Slider, Swiper.js, and GSAP. By utilizing the Clip Path Swiper.js Slider Interaction, you can bring a unique and visually appealing element to your website or application. The Clip Path Swiper.js Slider Interaction is a great way to add an extra layer of engagement and interest to your online content. So, it is a highly recommended technique for enhancing the user experience on your website or application.
Related cloneables


A method to highlight text on page scroll in Webflow. A unique a fun interaction in which the text on the page begins to highlight as you scroll down the page. Each letter even partially highlights depending on where you've scrolled on the page. This effect uses GSAP and Scrolltrigger.js to create the effect. You'll need to add the custom code found on page settings for this to work properly.

A beautiful Swiper.js overlapping cards slider built for Webflow. This Swiper.js slider is perfect for a hero section or features section of a site. When a user navigates between slides the top card is removed and the next card in line comes into view. The cards are stacked with various offsets so it looks like playing cards. There are text transitions for each text associated with the slide. This slider was created using Swiper.js and utilizes Webflow's native CMS collections. This allows you to dynamically generate slides based on the collection list items. This requires custom code so be sure to look at the pages custom code for the Swiper.js code. You can modify the Swiper.js code to include grabcursor, looping, and utilizing arrows to navigate between slides.

Add a progress bar to your draggable CMS slider sections in Webflow. Typically most draggable, or third party sliders, don't offer a progress bar indicator. Using the power of Dragdealer.js you can now add a progress bar and draggable CMS slider to your Webflow site. Please note that you'll need to add the global styles HTML embed as well as the custom script found in the closing body tag within the Page settings for this to work properly.


Featuring 10 different text and typography scroll effects powered by GSAP, ScrollTrigger, Lenis.js, splitting.imin.js and Scrolltype.js. Keep in mind that these effects are great but you will need to have some understanding of code in order to modify these significantly as they rely on simply the JS libraries and data attributes to apply each effect. The first effect rotates the text and highlights each letter as the paragraph comes into view. This is achieved via the data attributes as mentioned previously. The second text effect showcases each letter coming into view from a different rotation and then all combines together to make the visible text. The third effect has each word come in at different positions from out of view and then into view on page scroll. The third version unwraps each word letter by letter as you scroll down the page. The fourth effect takes each letter and has it fold up at random intervals as you scroll into view. The fifth demonstration shows each letter rotating into place upon scrolling into view. The next demonstration creates a rolling hills effect for the letters as you scroll into view. The next one showcases a paragraph in which each letter is grown from the initial position as you scroll down the page. An appear example follows this one in which each letter of a word appears to be blurry and come into focus as you scroll down the page. The next and final variation has each word come in from random directions to create the paragraph.

A complete Splide.js CMS slider solution for Webflow. Splide.js offers a great solution over Webflow's native slider solution. Lightweight and mobile friendly this slider offers four different designs and implementations, including a Webflow CMS slider solution using Splide.js. This technique does require custom code that you'll find within the page settings, custom code area. Using this solution you can update the number of items per page, the number of items changed per slide, infinite looping, pagination, speed, drag threshold and much more.

Learn how to implement GSAP ScrollTrigger in Webflow. This tutorial and example cloneable showcases several different Scrolltrigger GSAP effects to turn your Webflow site into a dynamic powerhouse. When loading the page you are presented with a primary image and brand name. As you scroll down the brand moves from the bottom of the page to the top menu while reducing size. Further down the hero section appears and one of the words begins to move behind other text. Further down an image appears and then grows as you scroll further down the page. This shifts into the product section in which images appear with a parralax effect over certain words. This shifts into another product section and the backgrounds transition while the images still float above the text. Each section has a different background color/text color with the images continually scrolling above the text. This utilizes a lot of custom code, and utilizes Webflow's native CMS for products and items found on this page with CSS nth-child. You will need to add the custom code found in Page Settings to get this to work properly. Watch my GSAP Scrolltrigger tutorial for this project at https://www.youtube.com/watch?v=x-BVEhyYW50 Conceptual design for https://www.minimalgoods.co/
A fun GSAP text hover image span effect created for Webflow. When hovering over a specific text or link, images appear on the screen. Perfect for dynamic and playful interactions powered by GSAP. This script is powered by GSAP and you can find the custom code found in the page settings. This allows you to signify images that appear when a user hovers over a native Webflow text span item. This is also mobile friendly as the code allows you to set media resolution settings and customizing the effect on the non-selected text span. You are able to customize the easing, zindex position, colors and much more.

Not just another vertical CMS marquee, this one is powered by GSAP and provides extra functionality. The vertical marquee provides a constant infinite loop of text. As the word comes into view a second text area updates to showcase the relevant text for the primary looping marquee text. A great example of utilizing GSAP to add increased functionality to an otherwise normal marquee. This also utilizes a bit of CSS so be sure to not overlook that when you are adding this to your site. You can customize the script to your liking and increase or decrease the number of items visible and the speed of the looping.

More from author

Here's a full screen menu navigation with animations and interactions in Webflow. This is a great way to easily add a menu/navigation to your Webflow site. This was comprised of three components during the build process. First, an image wrapper with an image inside of it. Second, the blue background and third a right wrapper with the menu items inside of it. The image wrapper and right wrapper are both 50% width within the menu. The width of the blue background is 150% so it has a quicker animation as it scales in. By having separate wrappers inside of the menu wrapper the scaling effect can also apply to the image, and the blue background as well as individual animations to the menu items. The menu trigger also turns into a close icon on click and then back to the hamburger button.
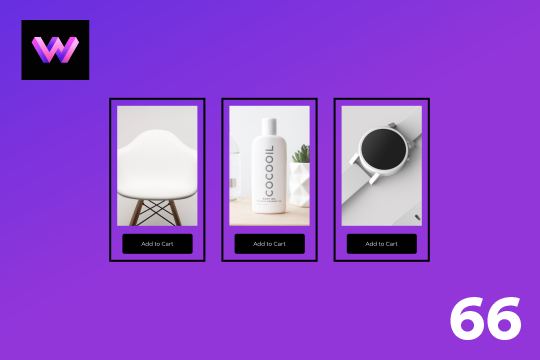
An add to cart hover button animation for Webflow. When a user hovers over the Add to Cart button a shopping cart icon slides in from the right side. This helps users understand the action taking place on the button and helps add a new level of dynamic buttons to your Webflow site.
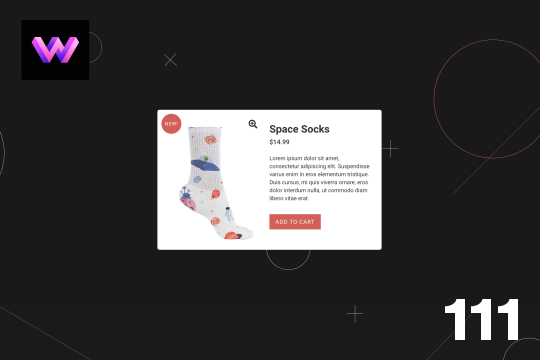
A unique product card animation on hover in Webflow. When a user hovers over a card the image shifts down, and a border appears with an animation, there's also a description of the card that appears as well. This animation effect was built entirely with Webflow's native interactions.
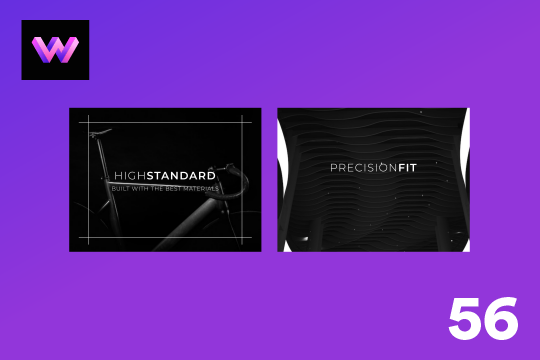
Showcase and feature your CTA by adding moving lines to the border in Webflow. Using this technique you can showcase anything that you want to draw the users eyes to by adding moving lines and a 3D hover rotation to products, cards and other important aspects on your site.
Easily add a grainy effect to your entire site. This uses a grain png that was on a Webflow site. You can create your own grains as well to change it up.
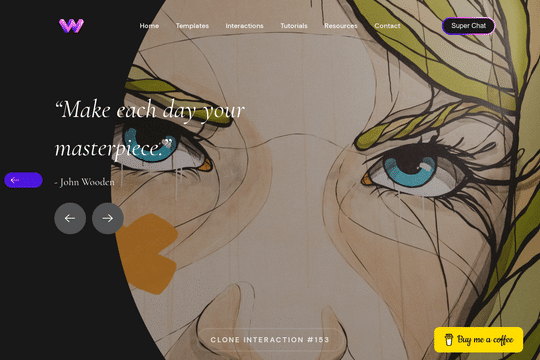
Here's a unique way to add transition animations to a full screen slider. Using both Swiper.js and a GSAP animation script.
Here's a product card with image zoom on hover for Webflow. When the user hovers over the product image it scales up and zooms so the user can see more information about the physical product. This was accomplished by placing the image div inside of a wrapper with an overflow hidden. When the user hovers over the image wrapper the image div scales up to double the size. Then with the mouse over element interaction the image moves in different directions when hovering over the image wrapper. This allows the user to hover around the image to see different parts.
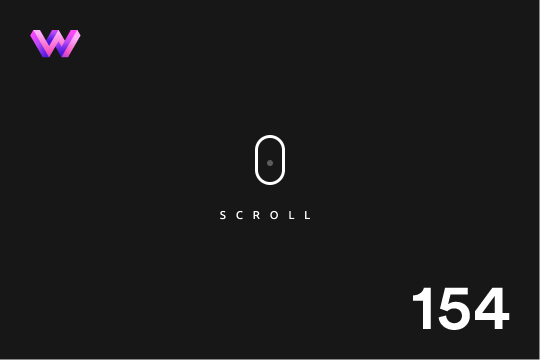
A simple way to add a mouse scroll animation with a dot moving from the top to bottom. This is not a lottie file or gif, this is made with interactions and divs.