


Cloneable tags
Description
Learn how to create a visually striking effect by using the Clip background to text option in Webflow. This technique allows you to clip an image to text, so that the text acts as a mask for the image behind it. The font color will take on the colors of the image, creating a unique and eye-catching design. This method is easy to use and doesn't require any custom code – simply choose the Clip background to text option in Webflow's native designer. Check out this cloneable for an example of how to use this technique to add some creativity to your Webflow projects. Created by Webflowtips, this cloneable is categorized under Text Effects and Image.
Related cloneables
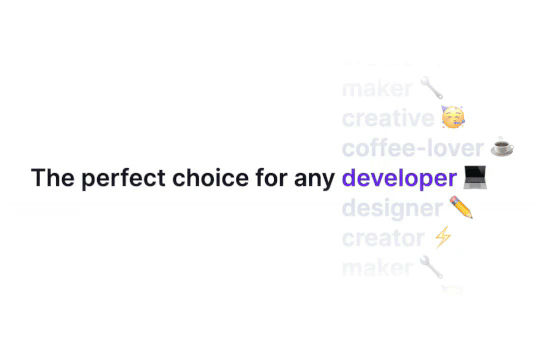


Ever wanted to add an infinite text rotation/changer to your Webflow site? This infinite text rotation technique allows you to have a long list of words that rotate in from bottom to the top and then repeat endlessly. This includes an infinite loop version and a finite version that only runs once. This is fully responsive and easy to customize.


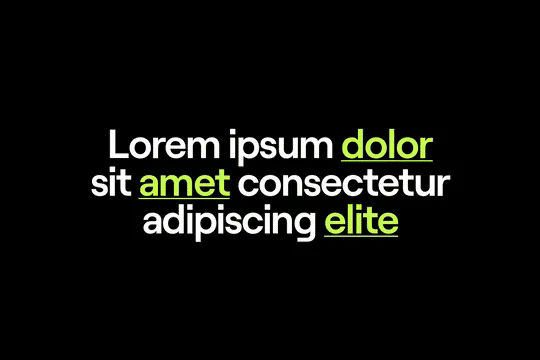
A method to highlight text on page scroll in Webflow. A unique a fun interaction in which the text on the page begins to highlight as you scroll down the page. Each letter even partially highlights depending on where you've scrolled on the page. This effect uses GSAP and Scrolltrigger.js to create the effect. You'll need to add the custom code found on page settings for this to work properly.
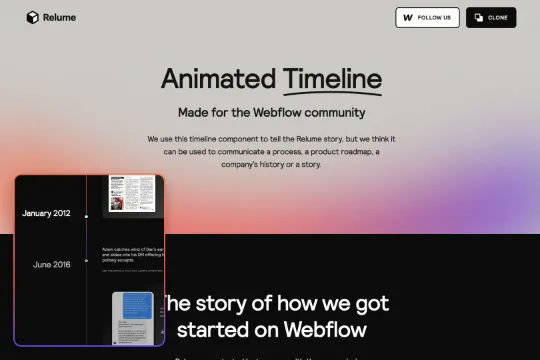

An animated timeline scrolling effect perfect for about pages, historical pages and many others. As the user scrolls down the page a fun native interaction is applied that allows users to visit historical timelines with a unique Webflow interaction. The current date and item that is in view increases brightness while others out of view are faded out. The user can scroll down the page and have historical information provided in a unique and interactive fashion. This interaction uses while scrolling in view and while page is scrolling page trigger interactions.

Featuring 10 different text and typography scroll effects powered by GSAP, ScrollTrigger, Lenis.js, splitting.imin.js and Scrolltype.js. Keep in mind that these effects are great but you will need to have some understanding of code in order to modify these significantly as they rely on simply the JS libraries and data attributes to apply each effect. The first effect rotates the text and highlights each letter as the paragraph comes into view. This is achieved via the data attributes as mentioned previously. The second text effect showcases each letter coming into view from a different rotation and then all combines together to make the visible text. The third effect has each word come in at different positions from out of view and then into view on page scroll. The third version unwraps each word letter by letter as you scroll down the page. The fourth effect takes each letter and has it fold up at random intervals as you scroll into view. The fifth demonstration shows each letter rotating into place upon scrolling into view. The next demonstration creates a rolling hills effect for the letters as you scroll into view. The next one showcases a paragraph in which each letter is grown from the initial position as you scroll down the page. An appear example follows this one in which each letter of a word appears to be blurry and come into focus as you scroll down the page. The next and final variation has each word come in from random directions to create the paragraph.


An exploding text particles animation using Three.js in Webflow. A good demonstration of how to add Three.js to your Webflow site. In this cloneable the text begins to morph and explode as you move the cursor over it. Please note that this uses custom code found in the head and closing body tags of the page settings.

Learn how to implement GSAP ScrollTrigger in Webflow. This tutorial and example cloneable showcases several different Scrolltrigger GSAP effects to turn your Webflow site into a dynamic powerhouse. When loading the page you are presented with a primary image and brand name. As you scroll down the brand moves from the bottom of the page to the top menu while reducing size. Further down the hero section appears and one of the words begins to move behind other text. Further down an image appears and then grows as you scroll further down the page. This shifts into the product section in which images appear with a parralax effect over certain words. This shifts into another product section and the backgrounds transition while the images still float above the text. Each section has a different background color/text color with the images continually scrolling above the text. This utilizes a lot of custom code, and utilizes Webflow's native CMS for products and items found on this page with CSS nth-child. You will need to add the custom code found in Page Settings to get this to work properly. Watch my GSAP Scrolltrigger tutorial for this project at https://www.youtube.com/watch?v=x-BVEhyYW50 Conceptual design for https://www.minimalgoods.co/
A fun GSAP text hover image span effect created for Webflow. When hovering over a specific text or link, images appear on the screen. Perfect for dynamic and playful interactions powered by GSAP. This script is powered by GSAP and you can find the custom code found in the page settings. This allows you to signify images that appear when a user hovers over a native Webflow text span item. This is also mobile friendly as the code allows you to set media resolution settings and customizing the effect on the non-selected text span. You are able to customize the easing, zindex position, colors and much more.
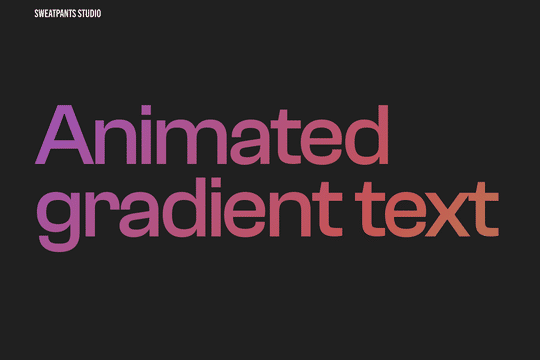

A CSS technique to create animated gradient text animations in Webflow. This allows you to add extra emphasis and design to your text headlines or any text on your Webflow site. Via a custom CSS found within the HTML embed you can create this animated gradient text effect.

More from author
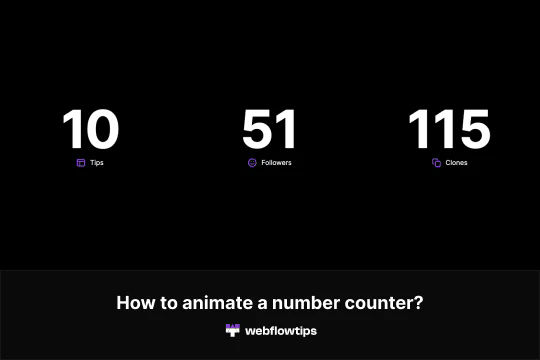
Here's a way to add an animated number counter on load in Webflow. Now you can add a number counter that counts up on your Webflow sites. To accomplish this you'll need to add a class to the number you want to animate. Copy and paste the code in the Settings -> Before body tag. Change the name of the class that you created for the number. Finally, modify the parameters for it to work. The parameters that can be modified are start, end, duration, delay, true, repeat, decimals, currency and the separator. Please keep in mind that this will only show on the published site and not within Webflow editor.
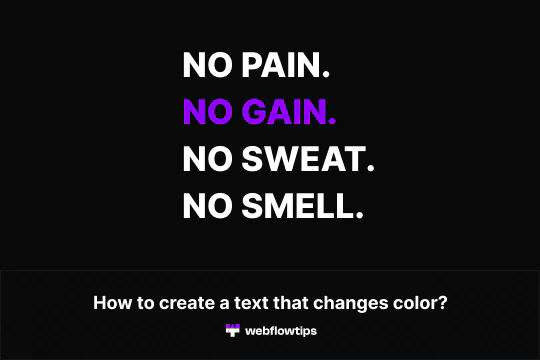
A fun way of adding a text color changing effect to a headline or other piece of text in Webflow. This technique uses Webflow's native interactions to achieve a color changing text effect in Webflow. This demonstration as two different methods, one which each text changes colors at a time and the second in which all texts change color and then revert back and loop again.
Four different individual text animations created with Anime.js for Webflow. These animations each create an individual letter loading animation on load. Please note that this only works on the published site. To get this to work give a class to the text that you'd like to animate. For example, animation1. Add a span to the text and give it a class of letter. Copy the code on the settings, before body and make sure that you change the class to the one that you used in the first step.
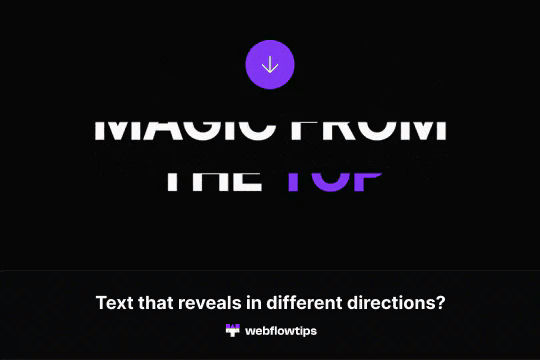
Text reveals is one of the most popular animations on the web today. This demonstrates how to achieve text reveals from different locations in Webflow. It's built using a custom script so be sure to check out the custom code section in Page Settings to ensure you have the proper scripts for the text reveal examples you want to achieve.
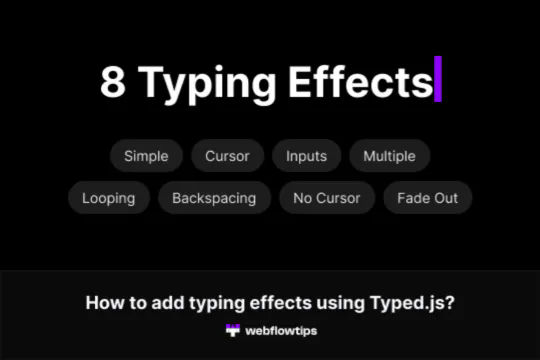
Eight different examples of Typed.js typewriter effects perfect for your Webflow projects. The eight variations include a standard simple one, which types the word once and then provides the typing cursor. A looping version in which it retypes the same text over and over again. A multiple text version in which you signify different texts that you'd like for it to type and it cycles through each one. A version without the blinking cursor. One with a custom cursor that's an underscore. Smart backspacing in which deletes only portion of the sentence and then retypes it. A version that fades out after typing the sentence. Typing within an input field, perfect for searches or suggested searches. You'll find the Typed.js code within the sites custom code settings and can be modified to your specifications.
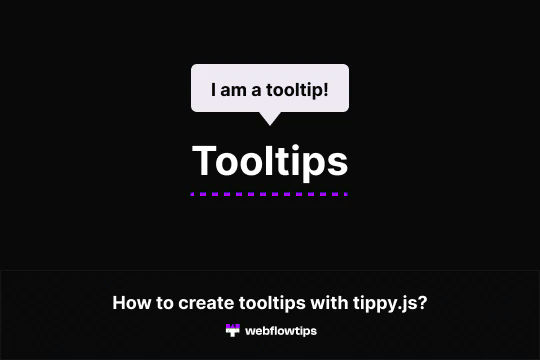
Here's an easy way of adding tooltips to your Webflow site using tippy.js. Simple tooltips have never been easier with Webflow by using tippy.js. To style them just change the custom attributes in the element settings. In order for this to work you'll need to view it on the published site and copy the custom code. This demonstration shows six different tool tip variations, including default hover, bottom tooltip, animated tooltip, tooltip without arrow and a tooltip that follows your cursor and finally a tooltip on click.
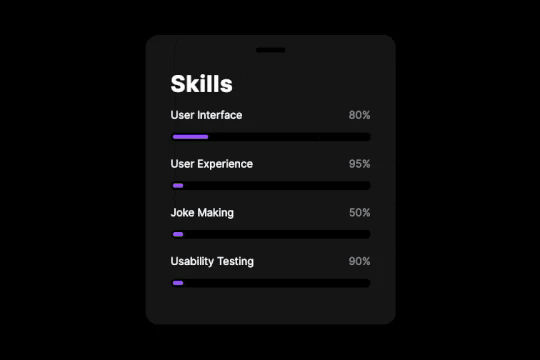
Here's a way of adding an animated progress bar to your Webflow site. All you need to do is update the width % to your preferred number. The animated progress bars add a fun Webflow interaction animation to the metrics section of your Webflow site.
Here's a way to create a page load animation in Webflow in which circles appear at different intervals to create an animation effect. This entire animation was built using Webflow's native interactions and doesn't require any custom code to create it.