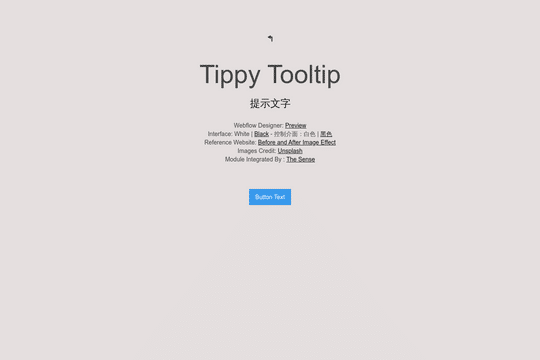
How to create tooltips with Tippy.js & Webflow


Cloneable tags
Description
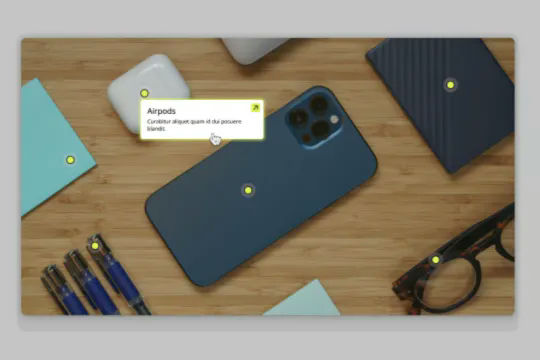
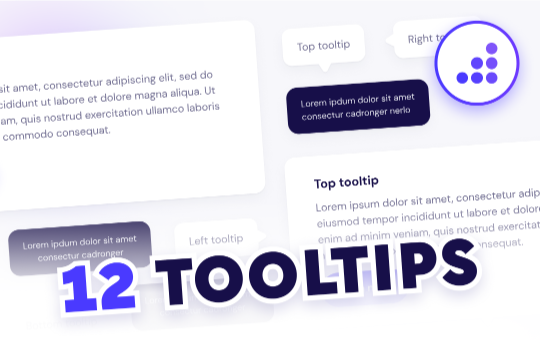
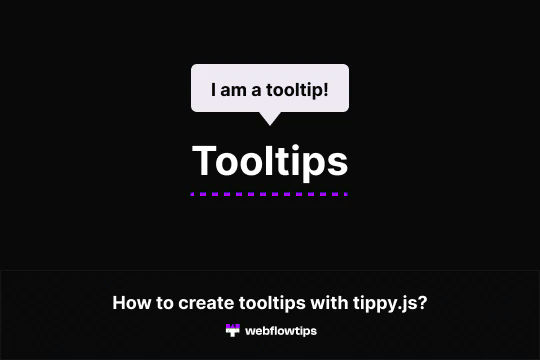
How to create tooltips with Tippy.js & Webflow is a Webflow cloneable that teaches you an easy way to add tooltips to your website using the Tippy.js library. Tooltips are a useful design element that allow you to provide additional information or context to your users in a subtle and unobtrusive way. With this cloneable, you can quickly and easily create stylish and functional tooltips by simply changing the custom attributes in the element settings. In order to use this cloneable, you will need to view it on the published site and copy the custom code. This demonstration shows six different tooltip variations, including default hover, bottom tooltip, animated tooltip, tooltip without arrow, a tooltip that follows your cursor, and finally a tooltip on click. Created by Webflowtips, How to create tooltips with Tippy.js & Webflow is categorized under Tooltips, making it a valuable resource for those looking to add this useful design element to their website. Whether you're a beginner looking to learn how to use tooltips or an experienced designer looking for new techniques to add to your toolkit, How to create tooltips with Tippy.js & Webflow is an excellent choice.